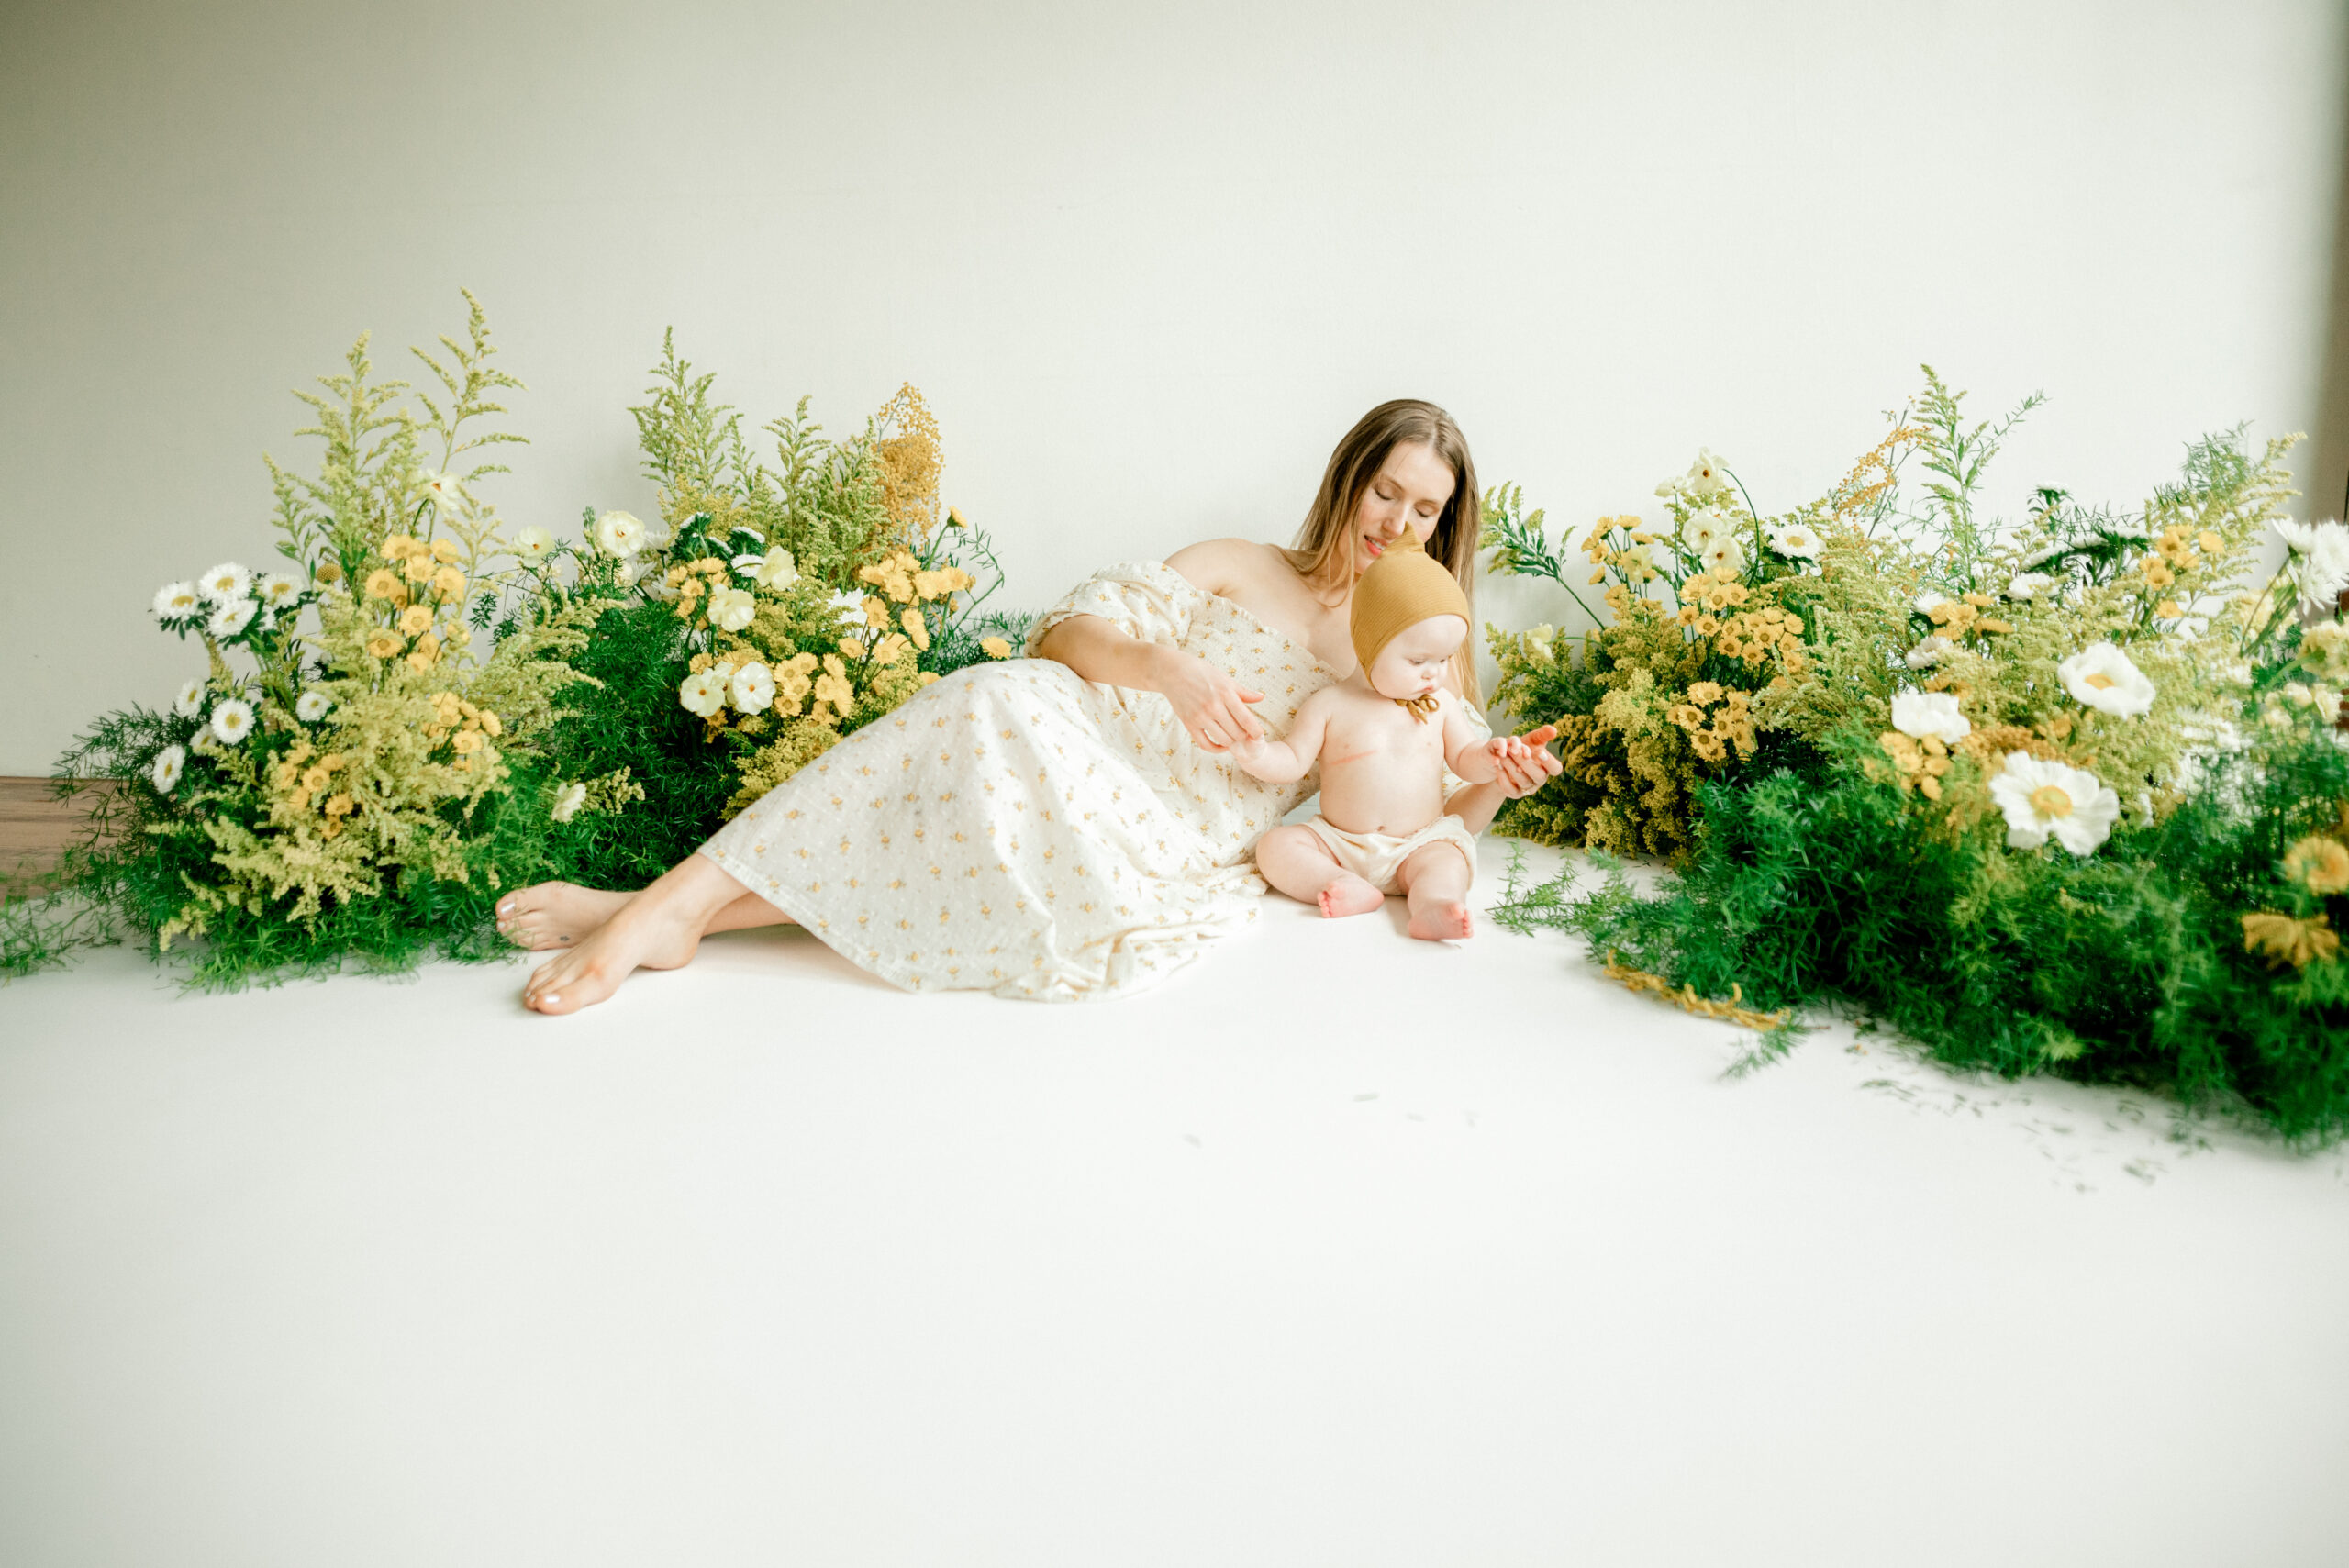
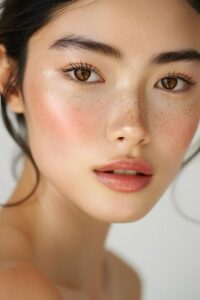
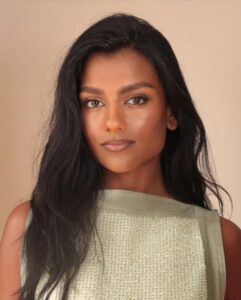
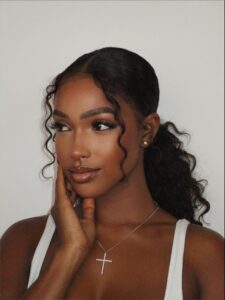
Doing your makeup for your family photoshoot in a way that is natural and “looks like you” is something I highly encourage. It’s important to me to capture you as you are, so if you wear heavy makeup go for it, but if you wear little to no makeup we don’t need to change that too much. However, with a camera, it is a 2D interpretation of a 3D world, so helping define your beautiful facial features with a bit of makeup helps the camera see what we see in person.
Here’s a quick and easy tutorial to follow for a soft subtle look that still feels like you:
Give yourself 5 minutes to allow products to rest and absorb into your skin between application, it changes the game I promise.
Beginning with hydrated clean skin, apply a primer that will hydrate and help hold your makeup. You don’t need anything expensive but do read reviews before buying a primer. I use this Laura Mercier primer and it really does magic. I highly recommending spending the most on your primer and foundation. I apply primer with my fingers. Do not skip this step.
I recommend a sheer dewy foundation formula or even a tinted moisturizer, opting for dabs of concealer in the places you need it. Using a beauty blender blend it into your skin using dab dab dabs, do not brush it around your face. I use drugstore foundation for this and apply sparingly. If you don’t want foundation, nbd! Apply concealer sparingly over any acne or discoloration or below the eyes to brighten them and dab dab dab until it’s blended.
Following up with a liquid blush for the most natural look, apply sparingly to the tops of your cheek bones. For a blushy milk maid vibe add some blush to the tip of your nose and the top of your forehead. Throw in some liquid highlighter if you have it and dab sparingly on the tip of your nose, cheeks, eye lids and chin. You can skip the highlighter if you want nbd. I use Plumping Cream Blush from Buxom. It’s highly pigmented – a little goes a long way! DO NOT SKIP THIS STEP, blush is essential.
Use a very fluffy brush and a sheer powder (use your discretion based on your skin tone) and apply a thin layer to seal it all in. If you skip this step you risk the liquid makeup sliding all over your face as the day goes on, yikes. DO NOT SKIP THIS STEP EITHER – it locks in your makeup.
Apple mascara to your lashes, if you need use a business card (tbh I use my own haha) between your eyelid and your lash to get maximum application and liquid without spidery looking lashes. You do NOT need eyeliner unless you love the look and are skilled at the application. Don’t forget – mascara expires very quickly, so pick up a new bottle from the drugstore if you can’t remember when you bought the one in your makeup bag. You don’t need name brand mascara to get good stuff, I use Maybelline Sky High. You can also use a clear mascara and clear brow gel if you have naturally dark lashes and brows and just need a little “umph”.
Practice a few times before your photoshoot so you know how to efficiently and effectively apply your prefered look.
Below are some inspo pics, but if you think you might want some help from a pro, scroll down to get some suggestions!
Li Sun Goh
West Seattle
Kenyatta Holmes
Federal Way
Aleesandra Jones
Seattle Based Makeup Artist for On-site work
Sarah Ren
Travel only
Alex Juel
Snohomish Studio
Jade Masonry Artistry
Bellingham